Friday, December 16, 2011

Decorating For Christmas And Joining The Great Poinsettia Challenge


Well it is close to midnight and I don't have long to get this entry into Tamara's Great Poinsettia Challenge so I am going to work as fast as I can to get this post done. 
It will be heavy on the pictures and light on words.
The artificial poinsettia's I used came from a thrift store for next to nothing.
The real ones came from a big box store, although not our favorite big box store. . . (sorry Tam!) My house is quite small (less than 1000 square feet) and I wanted the very small poinsettias so I could spread them around a bit. I spent just under $18.
Every thing else I used was stuff I already had. 
Except the Yoda lights on the tree. 
As most of you know that was contributed by the boys. . .

Enjoy the show. . .


This is our side entry. As I don't have a fancy banister to decorate, I decided to do this instead.


The tree had lights, ribbon and a bunch of Yoda's. Clearly it needed poinsettias as well.


Next came the ornaments. Henry commented that the tree looked rather sparse this year as I did  not let the kids put on every ornament we own. He seemed to think that was a bad thing. . .


Yoda seems quite happy with how things are looking.

All birds need scarves to keep them warm here on the Canadian prairie.

See?

This came from bits of leftover greens we used for our garden club meeting,  the apples I saved from a centerpiece mom bought me a few years ago and the glittered pine cones Tamara brought to our house for our 25Th anniversary 2 years ago.


I tend to move stuff around at Christmas. It is the only way to make the tree fit in the living room. Some things leave and others come back. The black side table spent most of last year outside as it lost a few screws and is quite  wobbly. All it needed was a bit of wire and Voila! Only a  little bit wobbly!

Decorating came be simple. A little evergreen stuffed in a vase with a candle says Christmas  without a lot of fuss.

A gift from mom last year. Doesn't it make you think of Narnia?
I love it!

Note the artificial poinsettia flowers nestled in the greens.

Another item brought inside. The glass tends to rattle when Henry walks by, so he will only put up with it for so long. . . It will probably make it through Christmas though.

Don't you love the colour on this one?

I won this beautiful metal planter at Henry's Christmas party last week. I couldn't wait until spring to use it! (More artificial pointsettia flowers. . .)
Don't these look great it this planter I got from Tamara many years ago? The sparkly curls came from her as well. 


I like to decorate every room if I can. 


Time to decorate the kitchen

I think this is one of my favorite vignettes. I bought the Limoges plate at a flea market. 


This is another favorite


The only thing left to do is to put the lamb Morgan made in kindergarten at the top of the tree. . .
I do love to decorate for Christmas!

Monday, December 5, 2011

It's Beginning To Look A Lot Like Christmas. . . .

Things are starting to happen around here. . .

This Christmas things are going to look a little different under the tree.
Retirement and the lack of a second income has resulted in the need to go for homemade as much as possible this year.
But what kinds of things can you make for mostly grown children?
Morgan begged me not to make pajama pants again as he said  his cr**ch still hadn't recovered from last year. (The things boys say!. . . They were a little. . . ummmmm. . . short waist-ed.)
I was stumped and called up Ev to see if she had any ideas.
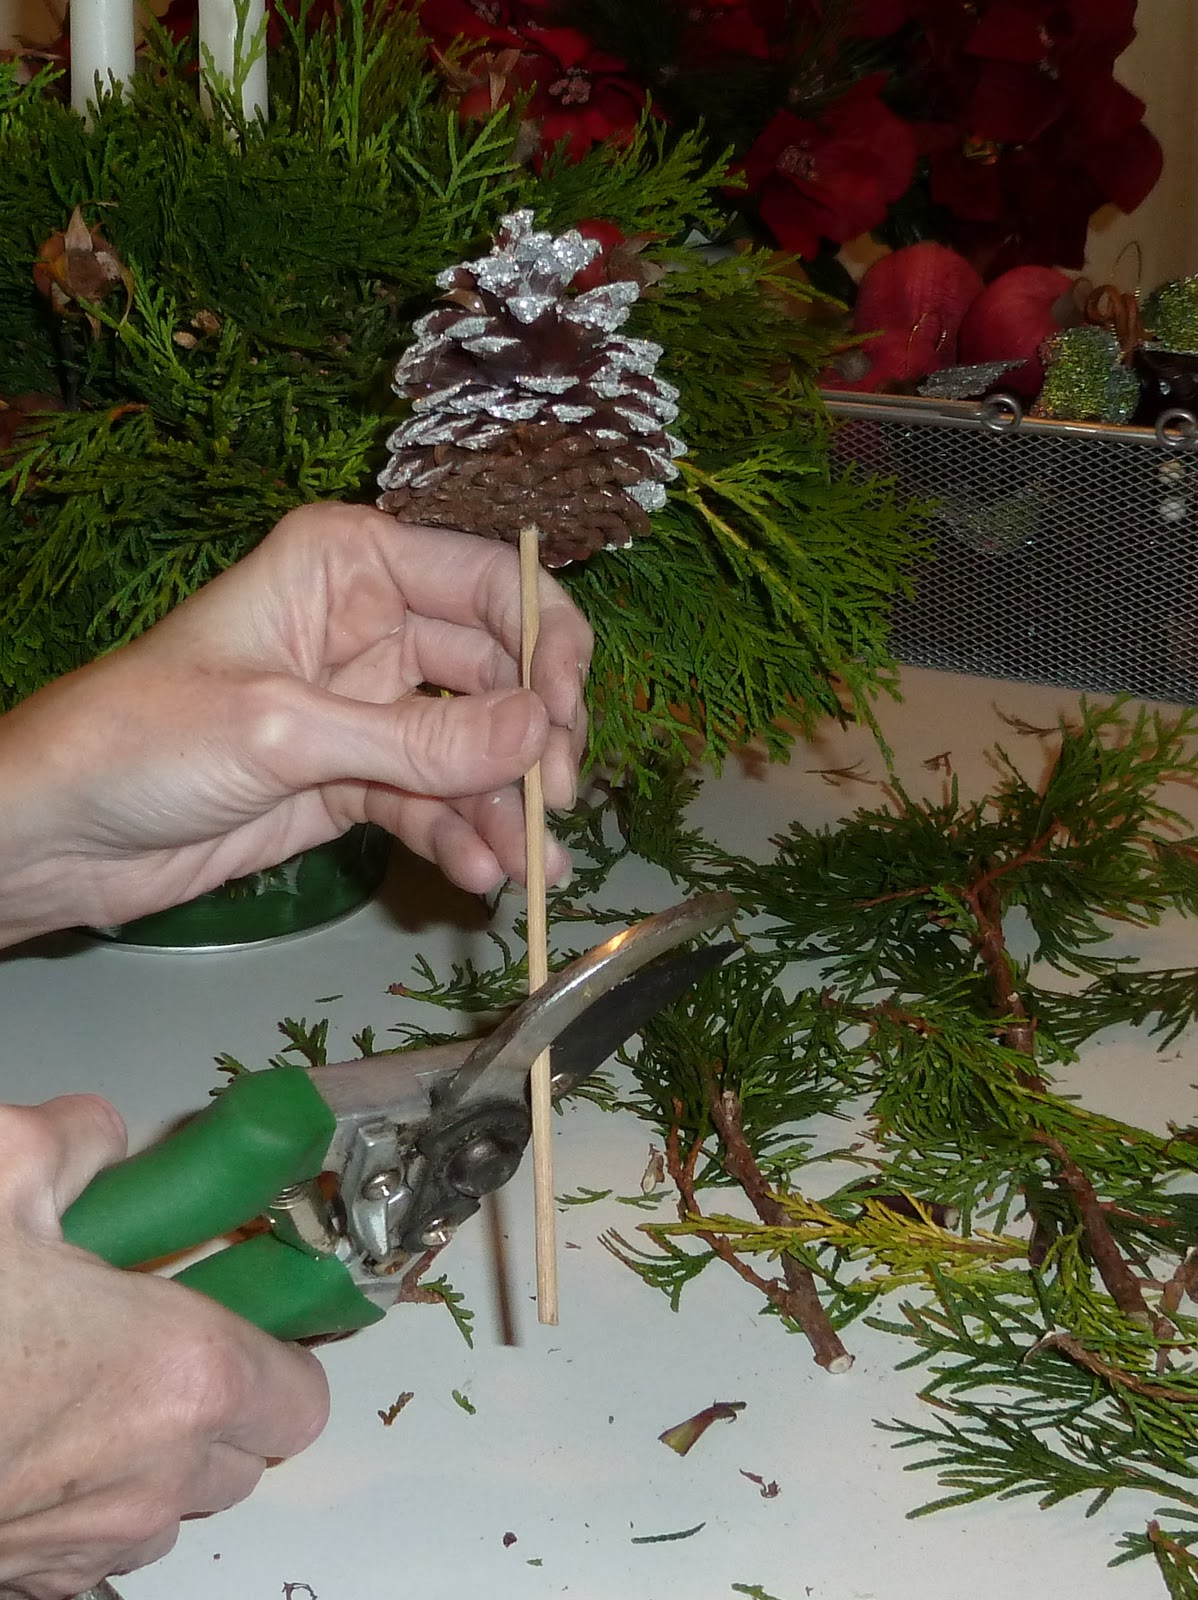
Always one to enjoy a good crafting session, she rushed right over and we spent the afternoon crafting like crazy and I ended up with 5 gifts by the time she had to call it quits.


I sure hope we get a chance to do that a few more times before Christmas.
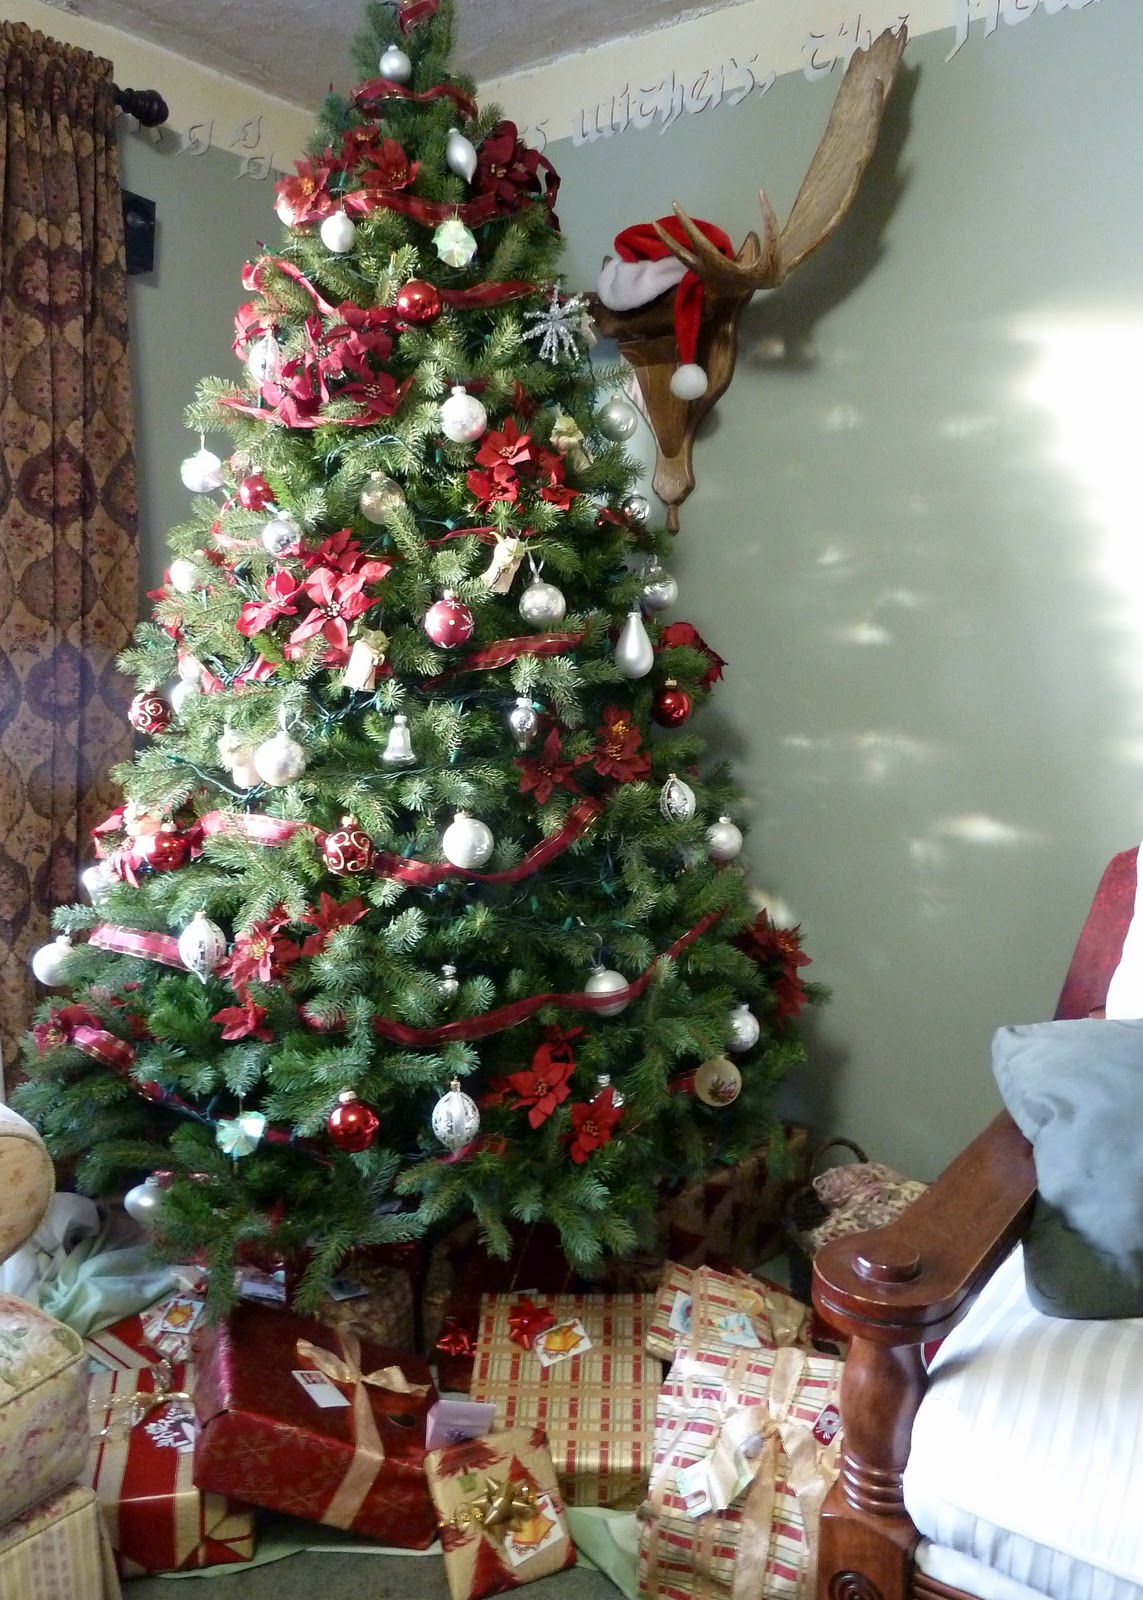
Jesse got rather enthusiastic about setting up the tree later that afternoon so even though it was a bit early for my taste I let him do it. He also put on the lights. . . and the ribbon garland!. Which, although he's got a pretty good eye when it comes to design type things, I still had to play around with because to me it looked like he just unrolled it and wrapped it around the outside of the tree.
There was no ribbon weaving up and down  on the various branches, or bits here and there tucked further into the tree. . .
Just ribbon wrapped in a spiral around the tree.
I couldn't help myself, I just had to fix it!
He was not happy about it!
After dinner that evening he and Morgan went out to do a bit of Christmas shopping. When they got home they informed me that I  had to go to my room.
I assured them that I wouldn't see anything from the living room but they  insisted, so off I went, wondering just what was going on.
I heard packaging and rummaging and a whole lot of laughing.
What in the world???
"Okay, you can come out now!"
A beautifully lit tree greeting me in the darkened living room.
But what was this? . . .
What was that on the tree???
I came closer.
I shook my head, closed my eyes and looked again. . .
Yoda?


What in the world was Yoda doing on my tree??
And not just one Yoda but an entire string of glowing Yodas adorned my tree.
Sigh.
Morgan loves nothing more than loading my tree with quirky ornaments.
And Jesse knows just what to say to his brother to egg him on.
Payback for messing with his ribbon.

Monday, November 28, 2011

Because I Told Lisa I Was Blogging Today

When Henry and I first decided that it was time for me to retire from bus driving, I imagined long leisurely days, baking, reading, trying out new recipes and quiet rambles with Jada.
What I actually ended up with was life in the fast lane.
I have a ton of blog posts backed up in my brain and hardly a minute to put pen to paper ( figuratively speaking of course!)
My sister Lisa phoned to chat for a bit this morning and asked what I was going to do today.
Blog of course.
However, after we said goodbye I checked my e-mail and discovered that my favorite online print company has an amazing  one day offer which meant I will be spending several hours designing an assortment of items they are offering for free. On top of that, if I spend $40 shipping is free as well. So I have spent a good while designing a gardening calender using my own photos. They usually cost $20 each but they are offering them for only $4.

These are the pictures I plan to use on my calenders

That will make either great Christmas gifts or useful giveaways when I. . . .

Oh wait! I haven't posted about what I've been up to yet! That will just have to wait!

In the meantime I thought I would let you see what Morgan thought would be appropriate to write on my inspiration board after he complained that my Teddy Roosevelt quote was way too long. . .


The odd thing is that most of this is true. . .
Aside from the crack about me eating turtles of course. . .I don't know where he got that from!
 Oma had a good laugh about this one!

Saturday, November 12, 2011

Christmas Center Piece Kits

I sold these kits at a local craft fair and thought you might like to see how they are made.
If you don't have a kit you could always make up your own!


I cut these greens and rose hips from my garden.


You want to make sure that you cut your Oasis floral foam   (a floral foam that you can wet) so that there is about 1-11/2 inches above the rim

Float the foam in water until soaked through. I had to flip it ove to make that work.

 Put the foam into the pot. I didn't have a plastic liner so I just folded a large Ziploc  bag  over to fit. (Don't forget this step! I did and ended up with water all over my table when I watered it a few days later.) Yikes!

Cut the pieces left in half and soak

Put in pot trying to keep the tops of all three pieces level

Put the candle holders in the center of the pot

Cut the greens into smaller sprigs that are still long enough to hang over the end of the pot

I like to work all four sides first so the arrangement stays fairly even. I then fill in the corners with  contrasting evergreens. In this case I used cedar on the four sides and golden juniper in the corners. You can change that up  a bit as you work your way up the foam. There is no real right or wrong way to do this. If it looks good to you you've done it right!

When you clip the stem try to cut them on a bit of an angle

You also want to remove any bottom bits so the stem is long enough to poke into the foam. * Don't pull the stems back out a bit if you think you pushed them in to far. That creates an air pocket and will prevent the stems from taking up water. You don't want to place the stems more than once either as it creates hole you can't use again for that same reason

Fill in the greens, covering the foam

Now it's time to embellish! I added some rose hips from my garden

Time to place the candles in the holders. If you find your candles don't quite fit you can always shave the bottom down a bit with a knife.

You can trim any of your additions to a length that works for you.

I love the somewhat rustic feel you get with sticks of cinnamon

I also wanted to place single pointsettia flowers so I cut them off the spray rather than poking the whole thing in.

I made 2 loops with the ribbon and left the ends dangling on either side

I then tied the ribbon around the middle of the loops

I fluffed the loops and put the pick into the foam

Cut the ends of the ribbon and. . . Ta Da! A lovely center piece for the holidays.
Water so it doesn't dry out and you can enjoy it for some time to come!

 
© A Life of Whimsey